Recent live DJ sets of my favorite genre (DnB) at a genius location (Printworks) inspired something in me. And since the Printworks location is now demolished I decided to bring its visual magic into my home.
RGB is fantastic if done right! Adafruit has been selling large RGB panels for a while now. A while back I even tested one with an MCU and it has been collecting dust ever since due to a lack of project ideas. My vision for this new gimmick was clear: I wanted to play video loops on a “large” matrix display with an unusual aspect ratio.
From Aliexpress I ordered a batch of 4x 64x64 RGB matrix display panels along with a 5V 200W power supply. Furthermore, a Raspberry Pi Zero WH (from a trusted source) and a HUB75 adapter (from a shady Chinese website) that never arrived - and I then substituted with an Adafruit RGB Matrix + RTC hat.
Some key considerations for buying RGB matrix displays:
- LED pitch (in mm) and resulting size of the assembled display
- indoor vs. outdoor panel types
- flexible vs. regular PCB
- buy them in one set and not individually to avoid manufacturing tolerances
Build Process
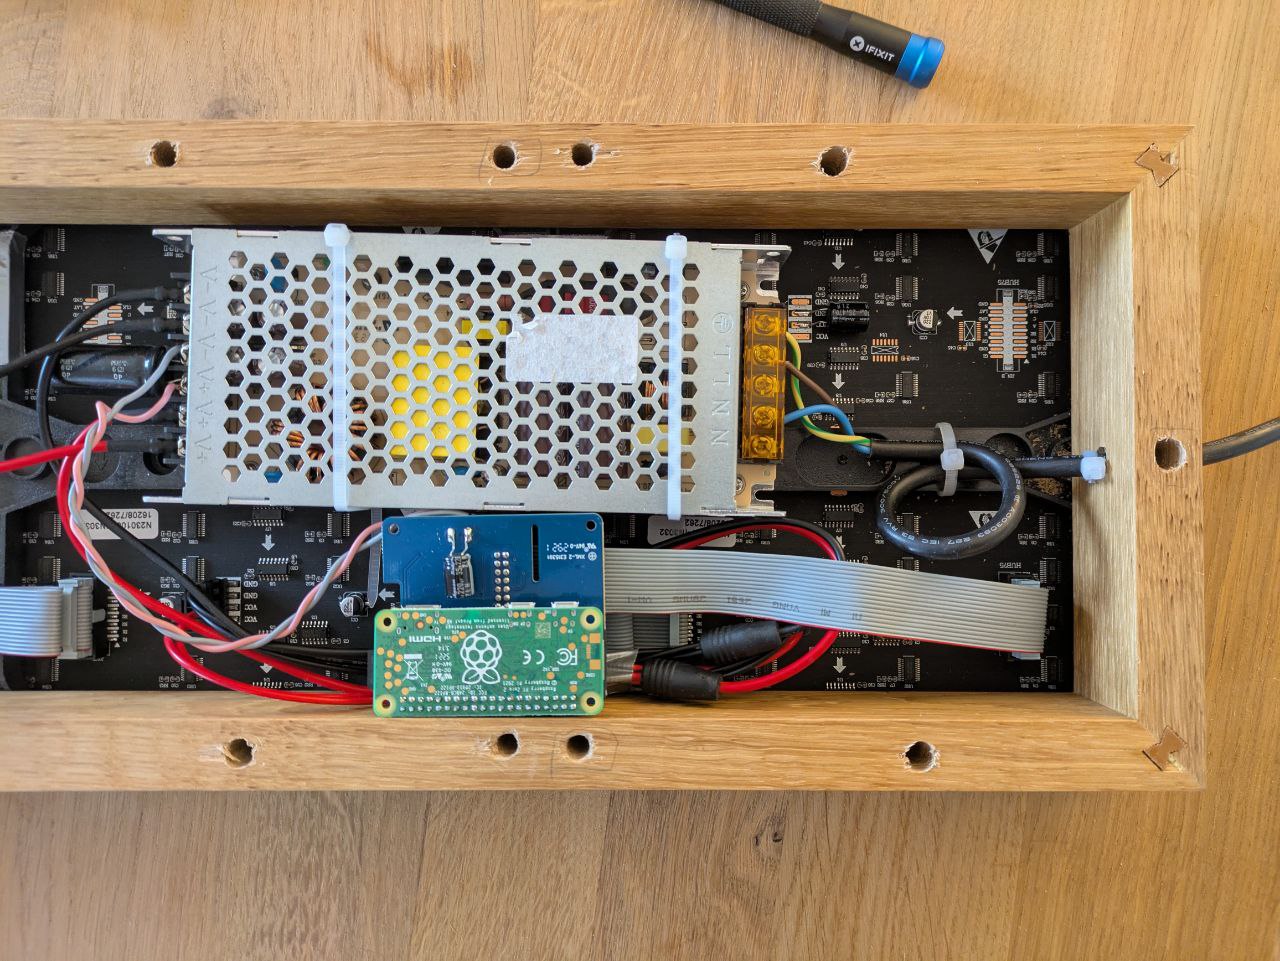 Fig 1: 12V DC supply, Raspberry pi Zero WH and RGB Matrix hat enclosed behind the LED display in the wooden frame.
Slapping a hat on a Raspberry Pi and hocking it up to a 12V DC supply is the easy stuff for us tech savy people - or by following the official tutorial. I am in luck to have a crafty sister who build me a wooden frame for the panel. Aside from giving the panel some mechanical stability, it also adds a touch of quality. As if the panel is a piece of designer furniture. Because I outsourced the frame, I have nothing of value to add here regarding the assembly. Except: doubble check the panel dimensions and measure if in doubt. The frame ended up being to small (because of the inacurate dimensions I gave to my sister). And I drilled too many holes for the same reason (visible in Fig. 2).
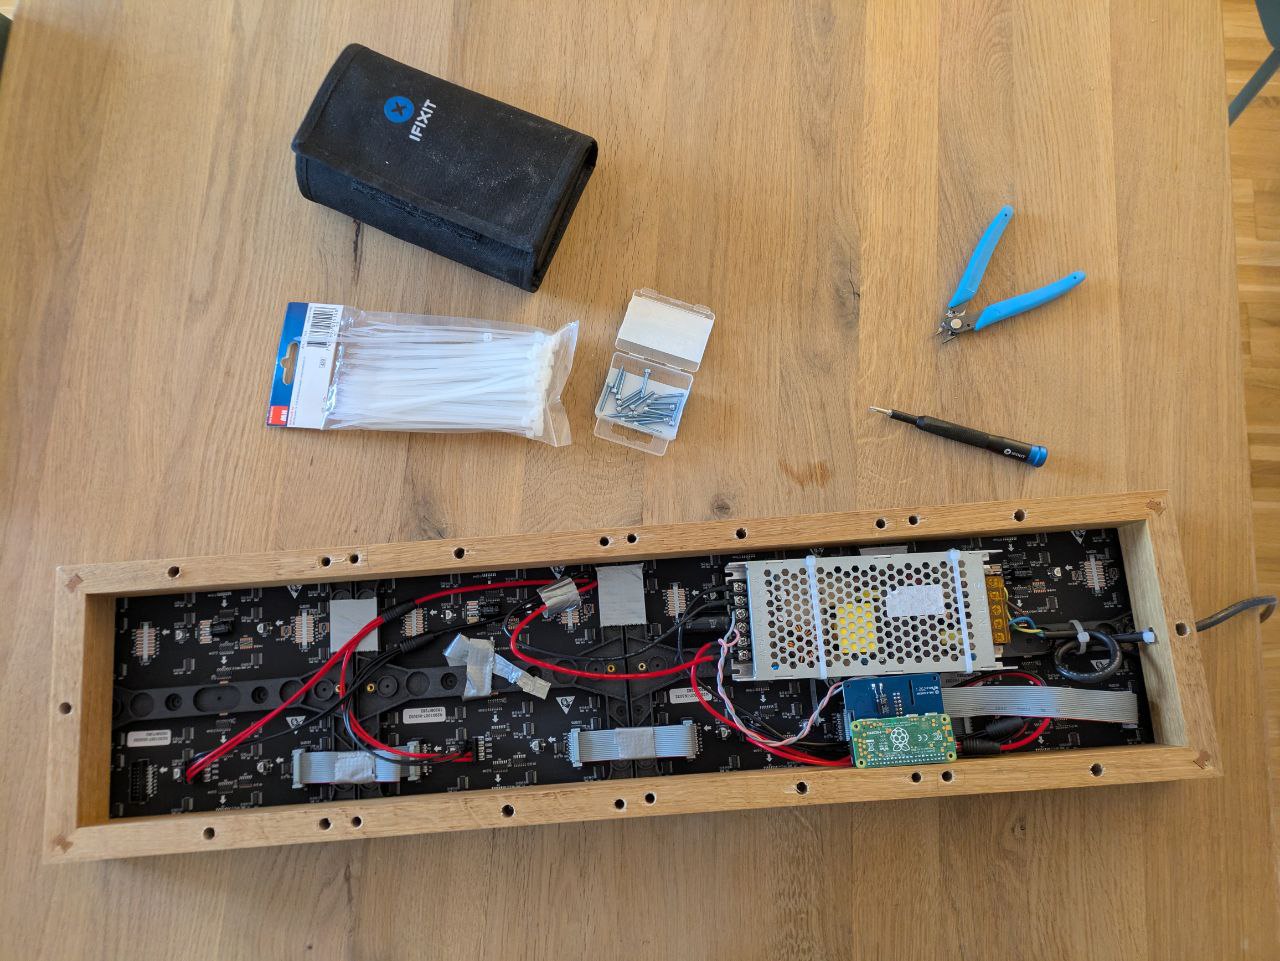 Fig 2: Backside view of the 4x1 LED matrix display.
Video Sources
Broswing youtube for some “background footage” or “screensaver” already yields some creative ideas of abstract animated shapes. Or you might find some calimng waves, a chimney fire or closeup footage of a rainforrest. I compiled a few of my experiments in a playlist. Now I have yet to dive down the “VJ loop” rabbit hole for some great rave visuals.
Download & Crop Videos
How to download only 1min of a 10h youtube Video
yt-dlp "https://www.youtube.com/watch?v=deTJ513J07Y" -f 'bestvideo[height<=360]' --external-downloader ffmpeg --external-downloader-args "-ss 00:00:00 -to 00:01:00" -o "%(title)s_method2.%(ext)s"
How to crop and rotate a video to match the aspect ratio of an RGB matrix?
Use the almighty ffmpeg to perform crop, rotate and reencoding with correct pixel format.
ffmpeg -i beach-full.webm -vf "crop=90:360:220:0,transpose=2,scale=trunc(oh*a/2)*2:64" -pix_fmt gbrp beach.webm
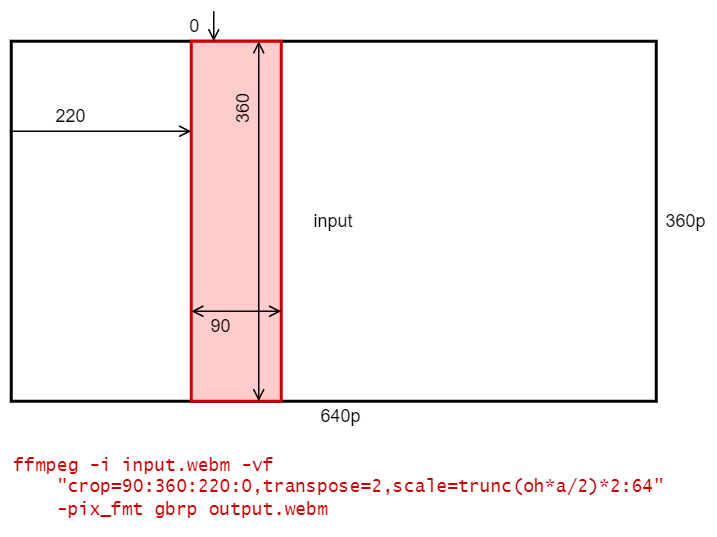 Fig 3: ffmpeg crop & rotate arguments explained.
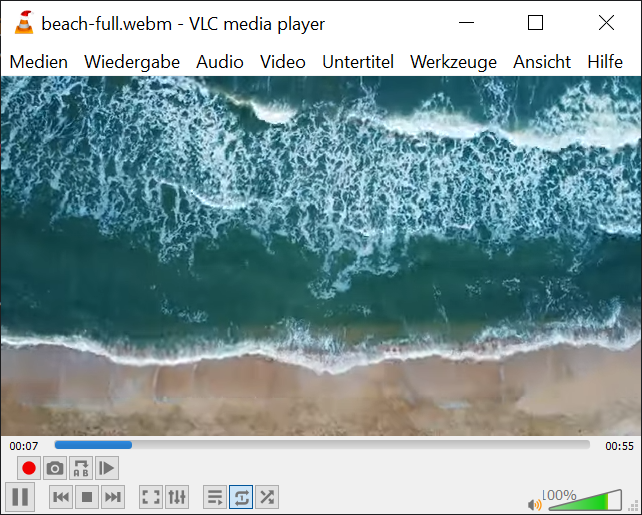 Fig 4: 360p video before crop & rotate.
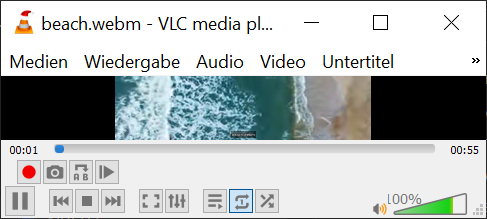 Fig 5: 90p video after crop & rotate.
You may want to do outsource ffmpeg encoding to another computer because the Pi Zero performs this task at only ~5 fps.
Sources:
ffmpegList supported pixel formats: https://lists.ffmpeg.org/pipermail/ffmpeg-devel/2007-May/035617.html- crop a video with
ffmpeg: https://video.stackexchange.com/questions/4563/how-can-i-crop-a-video-with-ffmpeg - rotate a video with
ffmpeg: https://stackoverflow.com/questions/3937387/rotating-videos-with-ffmpeg
reboot autostart script
#!/bin/bash
# autostart-rgb.sh
sleep 1
sudo /home/pi/rpi-rgb-led-matrix/utils/video-viewer --led-gpio-mapping=adafruit-hat --led-rows=64 --led-cols=64 --led-chain=4 --led-slowdown-gpio=2 --led-scan-mode=1 -V5 /home/pi/Videos/beach.webm -F -f > /home/pi/bullshit.log 2>&1
add it as a cronjob
# m h  dom mon dow   command
# @reboot /home/pi/autostart-rgb.sh